Pages

Labels

Showing posts with label wet felt. Show all posts

Saturday, 11 July 2015

Finito!

It's been a busy week but my challenge piece is finally finished! :)

Since my last post I added some embroidery to sharpen up the edges of the orange prefelts. First I had to choose some threads, I'm a big fan of the Gutterman Sulky threads for machine embroidery, they are reliably strong and have a lovely sheen that looks wonderful next to felt.


I started with the orange stripes in the top left quadrant.


I'm really pleased with the colour blending of the threads and the beautiful 3D effect you get from this style of stitching on felt.

Of course, it's impossible to stop at one small area when you start with free motion embroidery....


 When I went to bed it looked like this:


When I woke up this morning I looked at it again and took it back to the sewing machine - spot the differences....

I have been planning to hang this piece on stretcher bars from the start. Most of my felt hangings are sturdy enough to stretch directly over the frame but this one is a bit finer, it might be alright but I don't think it is worth risking it stretching and sagging in the middle so I hand stitched some poplin cotton to the back for extra support:


Before stretching it over the bars ready for hanging:
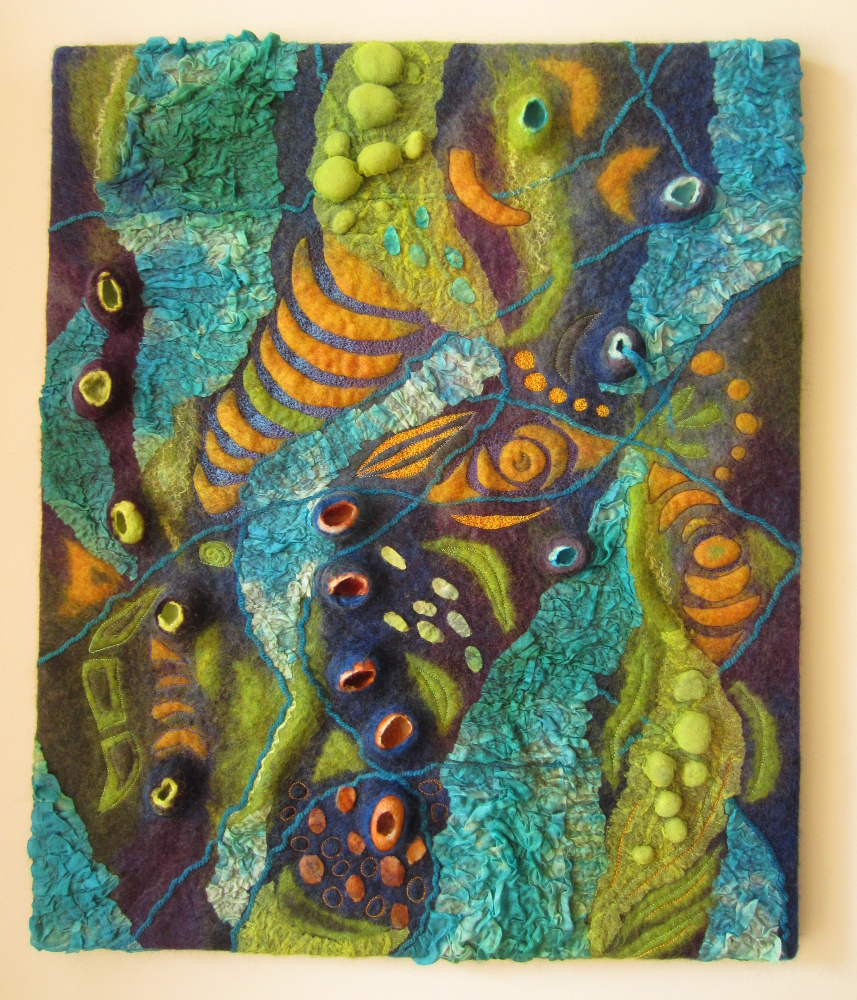


Finally some close ups from the finished hanging:


Saturday, 19 July 2014

Where has the time gone?

Gosh, I can't believe it has been 3 weeks since I last posted. It has been a hectic few weeks of working on my City and Guilds assignments and chasing my own tail.

Here are some of the C&G things I have been up to as part of my Artybird course.

Do you recall the "Alien Signpost" piece I started a couple of months back? After much debate (no two people had the same idea about how I should cut it or hang it) I settled on the portrait version with the "torn paper" edge along the bottom.

It is a large piece (173 x 92cm / 5'8" x 3') that I think would look fantastic in a stairwell (shame I live in a bungalow).

I'm really pleased with how this piece turned out even though the integral hanging sleeve is in the wrong orientation! Note to self: don't bother with integral hanging sleeves on abstract pieces, you're always going to want to hang it on a different edge to the one you have planned! ;)

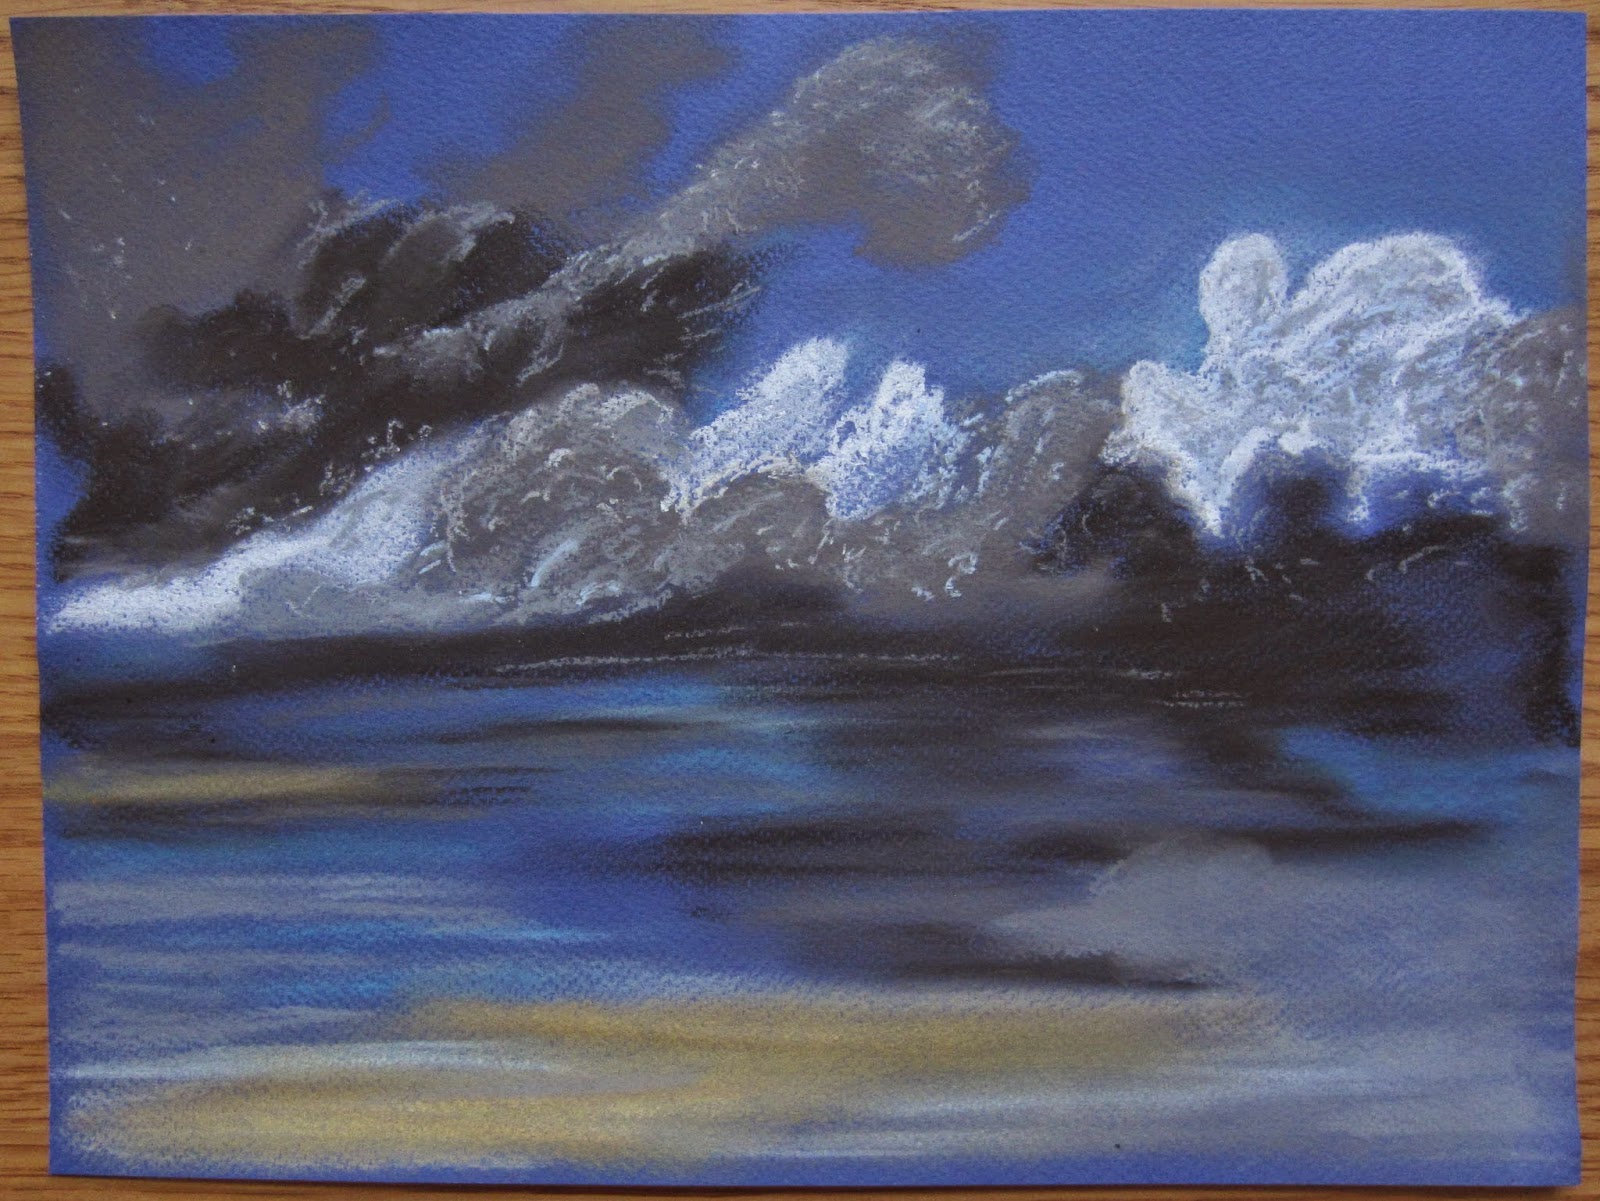
More recently I have been working on an assignment based on John Constable's Cloud Studies. I confess I hadn't appreciated just how prolific a painter he was, many of them are described as sketches but still stunning in their own right. Our assignment was to prepare some pastel drawings on different coloured backgrounds and then use those colours to make felt samples.

These are my pastel sketches.

 Dark blue paper

Light blue paper

Brown paper

All these sketches were derived from the same Constable painting but each has a very different feel, I think the middle one feels like the skies are clearing after a storm and has a freshness about it, while the other 2 feel like the storm is still building.

I was also very drawn to a painting of cirrus clouds, I just love the sense of movement and direction the white lines give this sketch.

And these are the pieces interpreted into felt, firstly with Norwegian wool:


And merino:

Next time - I revert back to my childhood and use wax crayons...

Thursday, 26 June 2014

Pink Pea Pod Bag

Here is another of the bags I have been working on recently. I'm really pleased with how this one turned out, so much so that I think I will make some more in different colour combinations and sizes.

It was made from a mixture of commercially dyed merino and hand-dying the finished bag.

There are 4 pockets inside.

 And another inside the flap

A close up of the "pea pods"

Linking up to nina-marieoff the wall Friday

Thursday, 16 January 2014

Laminating painted fabrics

I have been laminating the fabric painted and printed for my City and Guilds course. Most have been successful, the only one that really gave me trouble was the polyester, despite rolling for 30 min it still only attached in a few small areas. I'm not sure whether this will be seen as cheating or being innovative but after the third attempt I decided to try another tack; stitching to prefelt before felting.

This is what it looked like before felting:

And after:


These are the other printed and painted fabrics I laminated:
The organza was much more successful and I think the sheen on it is much prettier


Silk chiffon, this one resulted in the least puckering and the truest representation of the original design

Cotton muslin with carded top behind, this one has some lovely puckering that compliments the painted design:


Cotton scrim - I think the green merino has worked much better than the white as a backdrop for the monoprint.

This was the piece of cotton muslin with the glitter and 3D paints, the bronze 3D paint worked remarkably well but the glitter has lost some of its intensity during felting.


Sunday, 17 November 2013

Fabric paper lamination

Last week Ruth Lane blogged about her experiences of experimenting with paper lamination, it was so inspirational I immediately bought a tub of gel medium, I couldn't wait to try it!

The medium arrived yesterday, so I have been busily following Ruth's instructions, this is how I got on...
I experimented with 4 different papers and using some stencils I had to hand, painting the medium on with a stiff paint brush.

Glitter paper:

Metallic green paper:


Red card:


Handmade paper with tea leaves (this is after soaking as you could not see the stencilling in the photo taken before):


These are the results after soaking and removing the excess paper...
The glitter paper


 The metallic paper, this stencil kept moving so it is not very well defined and looks rather scruffy:

I think the ladybugs on the red card have worked the best of all the stencils, perhaps the others are bit too detailed and the detail was lost (mostly due to my ineptitude with using stencils).

I also had a go at nuno felting a couple of them, I love how the glitter paper has turned out, the organza has ruffled beautifully and both the organza and the glitter catch the light in different ways, I'm afraid my photos don't do the glitter paper justice, but it really is very shimmery. I will definitely do this again.


The nuno felted lady bugs are pretty cool too and offered some additional learnings:

  • I half expected this to happen, but where there are large areas of the gel medium (the heads) the felt has not attached so well.
  • I'm not sure why but the paper has almost completely rubbed off the one on the right, leaving just the gel medium (which also looks nice) the other 2 are fine. I expect this may be avoided by felting with the organza side facing away from the felt so the paper remains protected. 


 Have you tried this technique? How did you get on?