I thought I would share my method with you as I think it is much easier than the mould and deckle method most people / books teach. For my method you will need:
- a paper-making mould (this can be an old picture frame with some fine mesh stapled across the opening)
- some shredded paper (I use photocopier paper with printing on it but any paper that's not too shiny should work fine)
- some inclusions (optional), I have used flowers and tea bags but the world is your oyster here. Acrylic paint or food dye can be used to give a more uniform colour but I like how the colour from many flowers "bleeds" through the paper.
- a blender or food processor
- boiling water and a sink or tub large enough for your mould / frame
- a sponge
- some old towels
This is a selection of my dried inclusions. I keep a saucer in the kitchen and add things that I think might make interesting inclusions, here I have some used tea bags, a variety of seed heads and some dried flowers rescued from dying flower arrangements destined for the compost bin.
I used some fresh flowers too:
Let it soak for a minute or two while you part fill a sink with cold water and lay the paper-making mould in it, mesh side down. The mesh of the frame should sit just beneath the surface.
Whiz the paper at a moderate to high speed for 5 seconds to get a smooth pulp. Add your inclusions and whiz briefly to mix.
Pour the pulp across the mesh surface of the frame, rinse out the blender pouring the solution over any thick areas of pulp in the frame to thin them out. Give the frame a little jiggle while it is still the water to even out the pulp.
Carefully lift the frame out of the water keeping it level, wipe a sponge across the base several times to remove excess water, lay the frame on an old towel (this will help remove so more water).
Place piece of blotting paper over the wet pulp.
Gently tap the blotting paper all over with your finger tips until it is evenly wet:
Note: using coloured blotting paper will transfer some of that colour to one side of your paper, if you can get white blotting paper this is better.
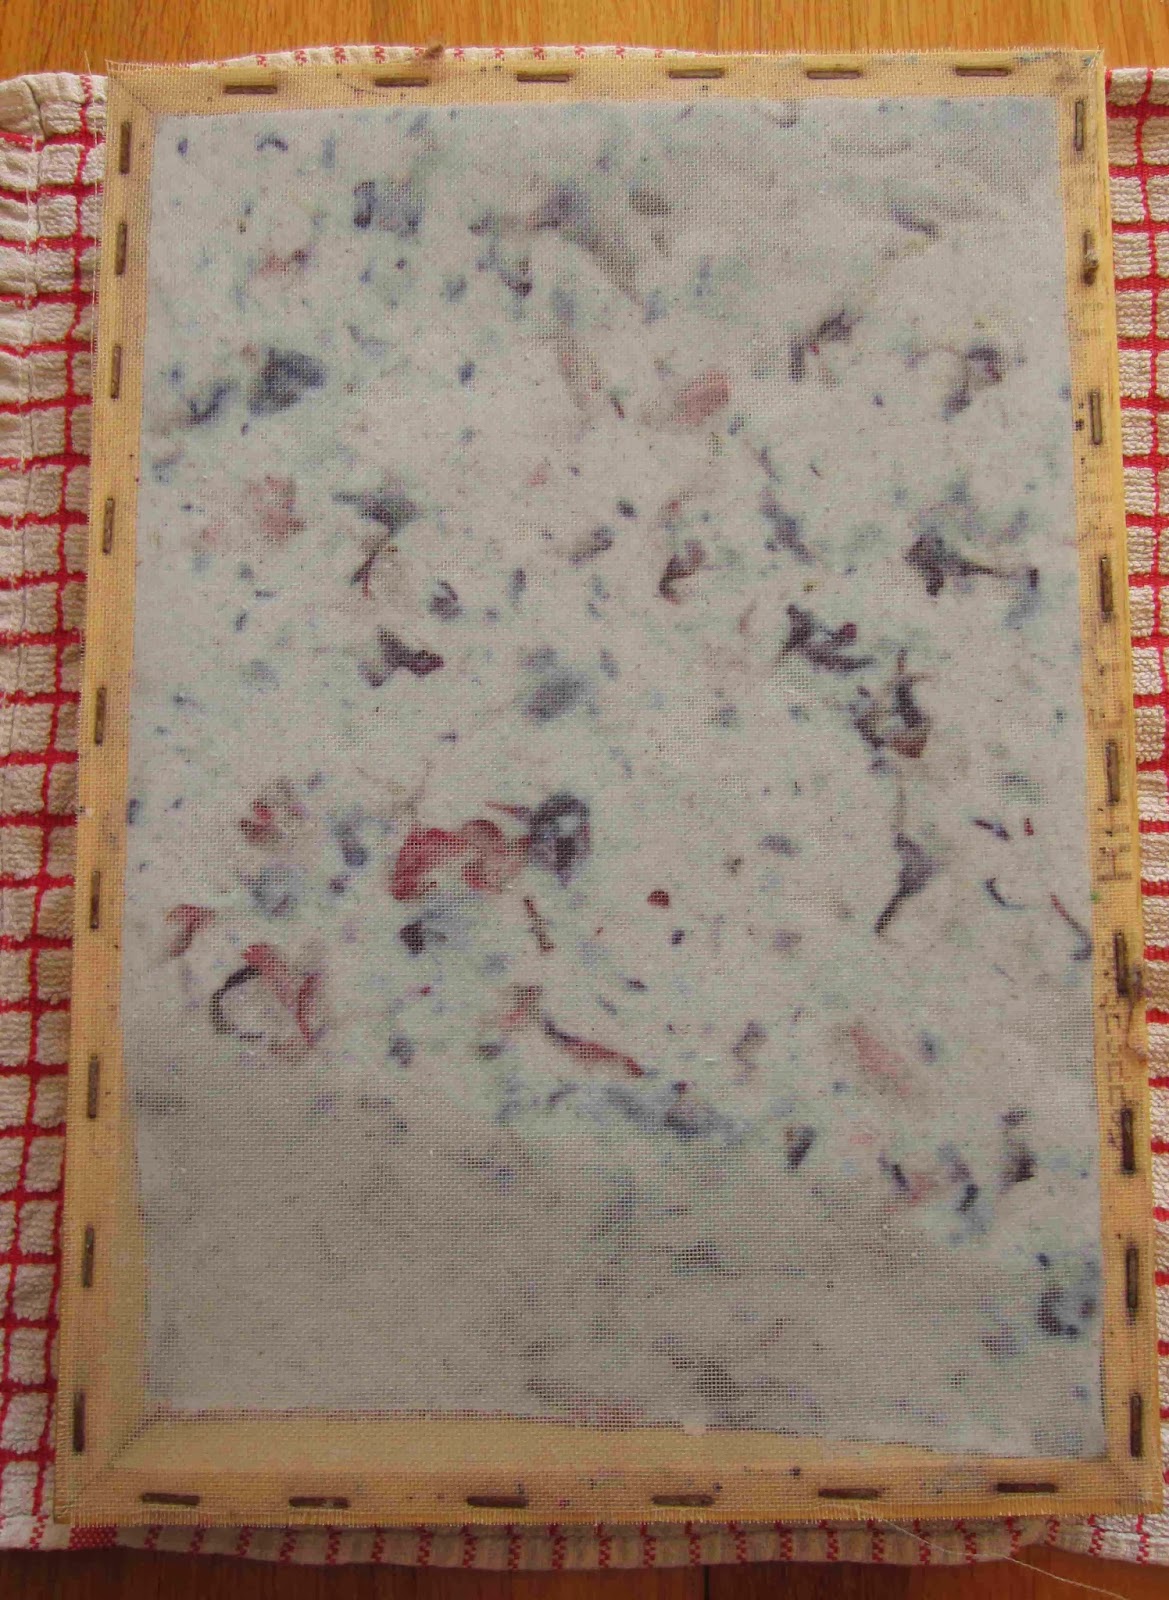
Turn the frame the other way up over a dry towel and tap the mesh until the pulp starts to detach (as it has in the bottom of this photo):
These are my papers drying in the spring sunshine:
When completely dry, the blotting paper is carefully peeled off, and your new paper can be ironed to flatten it.
My finished papers:


I have made my own paper once. Your method seems much easier than what I did. I love all your inclusions. What are you going to do with the paper?
ReplyDeleteI think the traditional deckle method takes more skill than I have but the method I use now is almost fool-proof. I generally use most of my papers to make cards but I did do some mono-printing last year that that turned out well.
DeleteLovely papers!
ReplyDeleteAnnie and I had a go at paper making several summers ago after seeing a demonstration at a craft fair. We had great fun and used all sorts of inclusions. Sadly most of our paper was a tad disappointing!
It does tend to be very hit and miss, some of the most drab and boring looking inclusions (like seeds) can "bleed" the most beautiful colours. You can't really see in these pictures but one of the papers contains cone flower seeds that have bled blue into the paper. A very pleasant surprise :)
Delete